
Now that I spend most of my days at home and we're getting closer to putting our house on the market {hopefully in the next year or two}, I have just been itching to do something. Our guest bath seemed like the best place to start because it was kind of painfully boring. Our house is in a starter neighborhood and is full of basic builder grade things- honey oak cabinets, basic laminate flooring, etc. It's hard to tell in the photos below, but it was this gross creamy yellow color and we just hung the shower curtain and towels from our apartment and called it a day. So plain! And I have come to hate that shower curtain over the last few years. Probably because when you look down our hallway, you see straight into the bathroom and, more specifically, the shower curtain. It was definitely time for an upgrade.
Lucky for Justin, I had some ideas in mind and a tutorial pinned from a couple years ago that I've been waiting to try {kidding- I'm pretty sure he thought I'd ruin our bathroom beyond repair}. Between wood, paint, and hardware, I definitely spent less than $100 on this makeover. But I did pick up a few new towels and floor mats, so that probably bumped the total up closer to $150 for the entire thing. Still, not bad at all for a completely new room and tons of leftover paint for my next project! The whole room- start to finish- took me about 3 days. One to stain/prep the wood. Another to paint the room, and one last to paint the cabinet and hang the mirror and shelves. I was able to do it all during nap times- but rest assured no cooking or dishes got done that entire week. I was also able to use a lot of things I already had on hand or paint/stain borrowed from my mom. So, so easy and it has me already thinking of what room I want to makeover next!


{The bath before we moved in- you can see the paint color and painfully basic builder-grade-ness of the whole room}


Even though the photos pretty much speak for themselves, here's a list of the projects I did over the course of the makeover :
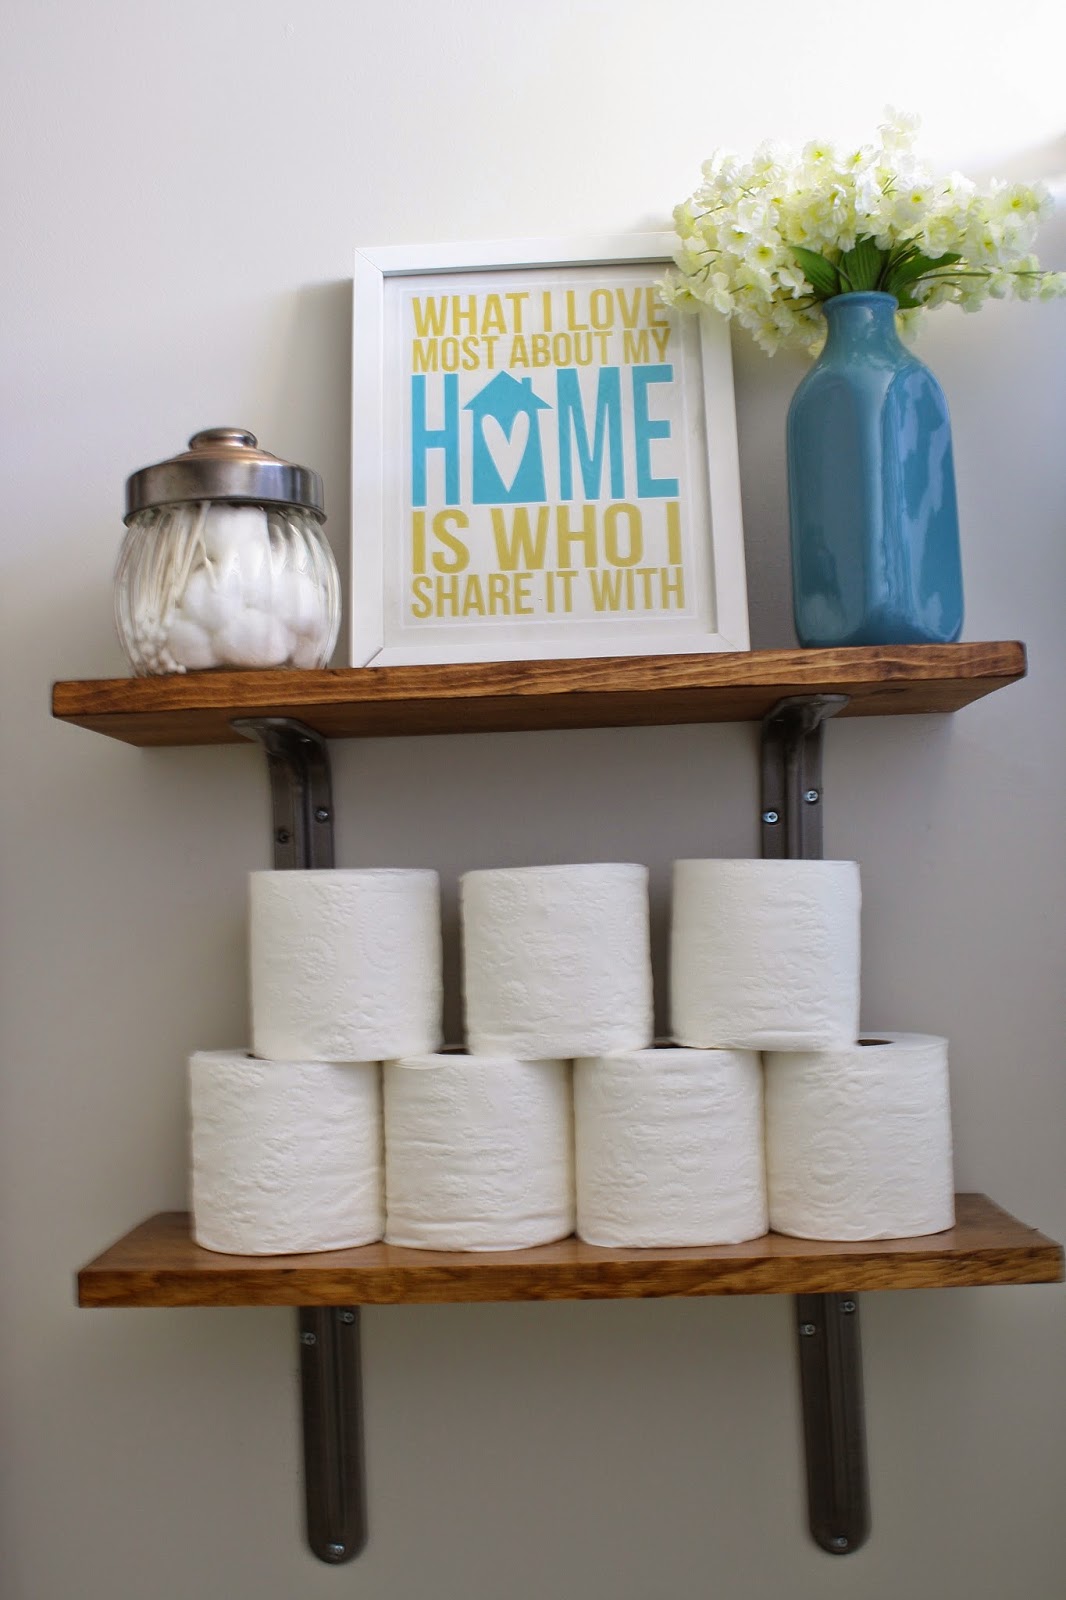
//Removed towel racks over toilet and on wall by shower. Replaced with TOWEL hook and stained planks/brackets. {Stained wood to match mirror frame}
//Framed basic builder grade mirror with distressed/stained wood. {using this tutorial- I followed it to a T and it was SO STINKING EASY!}
//Spray painted brackets and hardware to match.
//Painted cabinets with chalk paint. {I bought a teeny tiny container of paint from Home Depot and after two coats, I still have more than half left. This stuff is amazing}
//Painted entire room a more neutral gray/beige.
//Changed shower curtain, towels, and floor mats.
And who doesn't love a good ole source list?
Wall paint: Dutch Boy colored to match Benjamin Moore's Pale Oak {$25}
Mirror and shelves: pine planks from Menards, stained in Old American {$15}
Brackets: Menards {had one set on hand, purchased second for $10}
Cabinet Paint: chalk paint from Home Depot in Primitive {$8.50}
TOWEL hook: World Market {$15 after birthday reward}
Shower Curtain: Target {free with gift card!}
2 comments:
Looks amazing dear! You did a great job! And I LOVE the frame around the mirror!
Hi, visiting from Redoux. You sure gave the room some personality! Now it is warm and inviting. What I like best is that you didn't over-do it, either. Good work!
Post a Comment