It might be safe to say that gardening is becoming a hobby for me. Nevermind that my entire garden got scorched last summer and I stopped watering it after July. I am fully embracing the 'fake it til you make it' motto and it may be working for me so far this summer? Too soon to tell. Either way, I'm having a blast growing my garden and watering my boxwoods and filling my planters with blooms that may or may not die in a few days. Watering time has become my jam. Like an 80 year-old woman, its the highlight of my evening. I kind of geek out over filling up my watering can I know, I know. Riveting life I live.
And now that I've completely drawn you into the the soap opera life I lead, let me share my fabric covered planter with you! Ha! What a segway. This is just about the simplest project and costs next to nothing. I scored this pot at Goodwill last year for $.25 and had everything else on hand. And I'm kind of obsessed with making these, so fake your surprise if you get one for a birthday or housewarming or no other good reason other than I love you. Mmkay?

What you'll need:
foam brush
mod podge
fabric
scissors
terra cotta planter
Start by coating the entire outside of the planter with a generous coat of mod podge and then quickly wrap the fabric. Since you kind of have to roll the fabric on, I've found its best to start with a larger piece of fabric than you'll need and then trim the excess. Make sense?
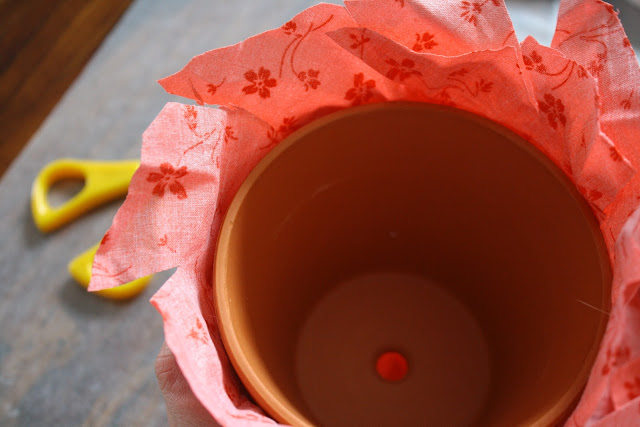
After you've wrapped the fabric around the outside, trim the top while leave about 1 1/2 in extra {or however much you'll need to have the fabric fold past the soil line}. You want the inside of the pot to seem lined, too, so cut diagonal slits in the fabric to fold into the pot.
Coat the inside with a layer of of modpodge and fold the fabric inside...
...and go over with another coat of modpodge.
Now smooth as many wrinkles out as possible on the outside of the planter and add a last generous coat of modpodge. Trim the bottom of the fabric and modpodge to seal.
Let the pot dry completely before planting. I'm sure there's some sort of waterproof or outdoor modpodge available, but I'm all for using what you have. So, be prepared for your planter to become a bit soggy when watering your flowers. No worries though, it seals up just fine after it dries again.
Et voila! Isn't it cute? I kind of love that its imperfect with some of the wrinkles I couldn't/was too lazy to get out. I chose a more basic fabric, but the possibilities are endless. And hey, if my plants end up dying, at least I have a cute pot out of the deal! Silver lining, people.


3 comments:
So many of the projects I have pinned on my DIY board are ones you do and I need to get in gear and catch up with you. :) This one is adorable!!! Good work.
Very cute idea!
I just planted a few pots outside and was thinking I was missing something. This would have been perfect!
Post a Comment